


By Sonali Sethi, PT, DPT
With the return of warmer weather, the call of the fairway is hard to ignore. But while a morning on the course may feel like a leisurely escape, the physical reality of a golf swing is anything but. Whether you’re just starting out or are a seasoned expert, playing golf can take a toll on the body.
A golf swing needs as much power as it does precision, and both are impacted by how your body moves. Limitations in your mobility or weakness in certain muscles can lead to a faulty swing technique, which can lead to an overuse injury. Over time, this injury can further disrupt your technique, leading to risk of additional injuries—a truly vicious cycle.
Which Areas are Most Impacted?
The low back, hips, shoulders, and wrists are the most common areas of injury in golfers. This is due to the nature of the golf swing.
The power in a golf swing is generated through a chain of events. The sequence starts with a full rotation of the spine, which is supported with less visible (though equally important) rotation in our hip joints. As the muscles and joints wind to their end-range, power transfers from the torso to the shoulders and releases at the wrist as the club swings through.
Limitations or altered movement patterns at any point in the chain can lead to dysfunction and injuries. In the case of the wrist, inflammation in tendons that flex the wrist can lead to tendinitis, commonly known as “golfer’s elbow.”
What Causes Injuries in Golfers?
A majority of the injuries in golf are overuse injuries. This means the constant and repetitive load on the muscles, ligaments, and tendons exceeds what the body is capable of tolerating.
Overuse injuries can result from:
• Poor swing technique
• Limited flexibility
• Weakened muscles
• Inadequate or no warm-up
• Insufficient rest between games

An example of overuse is going from no pain, to pain that begins 30 minutes into playing, to pain that begins 10 minutes into playing. This lets us know the body is not able to catch up, and can lead to long-term issues.
How to Minimize Risk of Injuries
A proper warm-up routine, targeted strength training, and mobility exercises are all actions you can take to reduce your risk of injury.
A proper warm-up prior to playing can significantly improve your game. Warm-ups can include general, dynamic movements, as well as golf-specific mobility exercises that improve blood flow to muscles, loosen up tight joints, and prepare the body for optimal play.
Though general strength training provides many benefits, it rarely addresses the specific movements needed for an efficient golf swing.
The exercises listed below target commonly problematic areas for golfers. This list is not exhaustive but can be a great starting point for reducing unnecessary strain, improving movement patterns, and ultimately helping you play with more power and precision.
This exercise program is designed to prevent—not treat—golf injuries. Exercises to Improve Mobility for Golfers
These exercises help improve flexibility in commonly restricted areas, especially the rotational movement seen in the spine and hips. Try incorporating these exercises into your warm-up routine prior to playing. Do these exercises 3–4 times per week for best results.
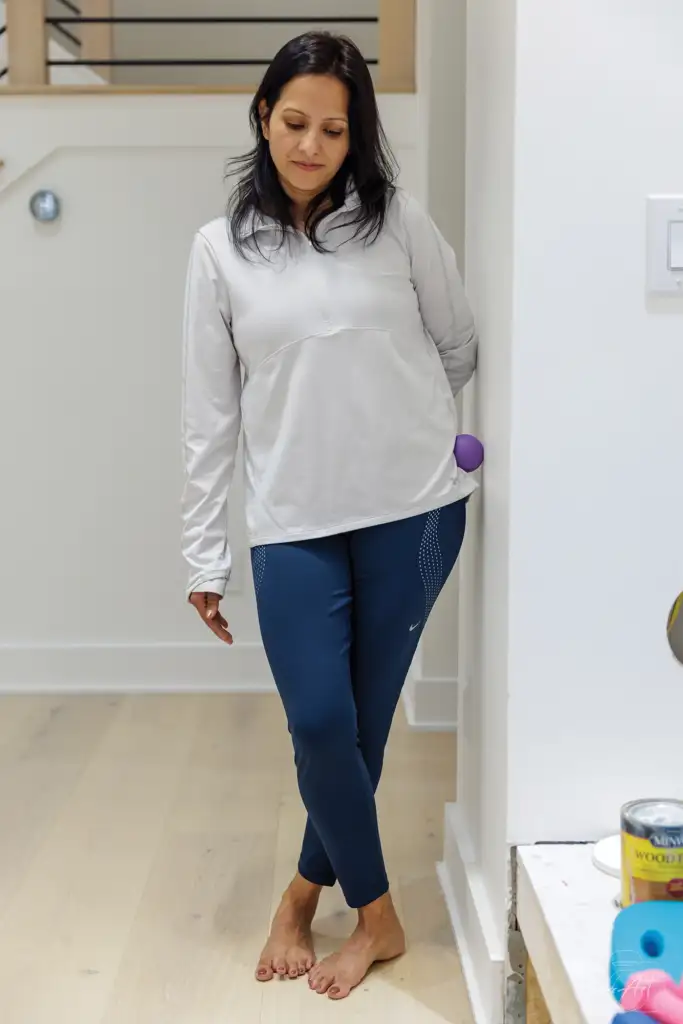
TFL stretch + ball muscle release
With this exercise, your upper body will naturally tilt away from the wall, elongating the side of your hip and torso for a deep stretch. The side being stretched is against the wall and the opposite leg crosses in front to stabilize. Perform for two sets of 30 seconds on each side.
• Stand with your right hip perpendicular to a wall, approximately two feet away.
• Cross your left leg in front to stabilize. Keep a soft bend in both knees.
• Slowly drop your hip toward the wall as if a thread is pulling you.
• To intensify, place a tennis ball between your hip and the wall. Lean into the ball to roll out tight spots on the side and back of the hip.
Open book stretch
For this exercise, think about “opening” as rotating through the spine to open your chest toward the ceiling.
Perform 10 sets of 10-second holds on each side, taking deep breaths in through the nose and out through the mouth.
• Lie on your side with hips and knees bent and arms stacked in front of you.
• Keeping the hips in place, turn your neck, trunk, and top arm by rotating to the opposite side.
• You can deepen the stretch by pushing down with the bottom hand to stabilize your knees. Upper back stretch
Perform 10 sets of 10-second holds, taking deep breaths in through the nose and out through the mouth.
• Grip a banister with both hands, slightly below shoulder height.
• Lean back with your hips and round through the upper back. Think about separating the shoulder blades. Pull your shoulders down from your ears to avoid compensating.
• To intensify a stretch for one side, slightly turn the upper body toward that side while keeping your hips and arms in place.
Exercises to Improve Strength for Golfers
These exercises help strengthen the muscles in the trunk, shoulders, and wrists that are needed during a golf swing. They can be performed 2–3 times a week for best results.
Pallof press
Use a cable machine or anchor a resistance band to a firm surface at chest height. Perform 3 sets of 8–12 reps, to moderate fatigue.
• Position your body so you are perpendicular to the band.
• Grip the band with both hands at your chest and slowly step away from the anchor point until you feel moderate to heavy resistance.
• Keep a soft bend in your hips and knees. Maintaining a steady trunk, extend your arms out at chest level and slowly bring them back in.
• If you find your arms or trunk rotating toward the anchor, the resistance may be too much. Take a small step back toward the anchor point.
Prone I, T, Y raises
Use a small rolled towel under your forehead to support your head. If the exercise is too difficult, only complete the exercise in the first position. Perform 3 sets of 8–12 reps at each position.
• Lie face down with arms by your sides, palms facing down.
• Squeeze your shoulder blades together, then lift both arms a few inches off the ground and hold for 3 seconds.
• Bring your arms back down and relax the squeeze.
• Bring the arms to the next position
(T shape) and repeat the action.
• For the last set (Y), rotate your thumbs toward the ceiling and think about pulling your shoulder blades down toward your back pocket before lifting your arms up.